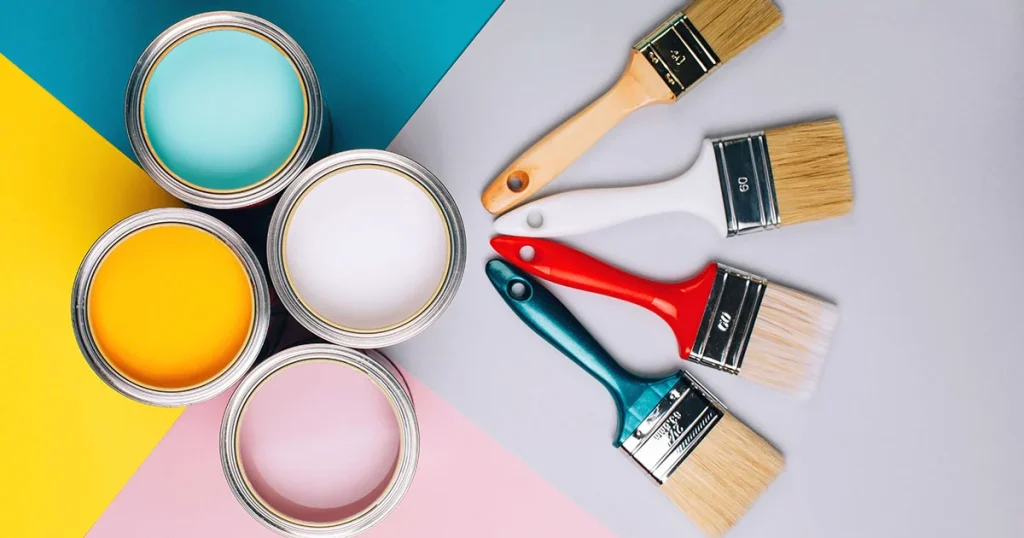
If you ever wanted to paint your own home but felt like the whole process might be too daunting, these tips can help you get started.
The Light or Dark Side?

In choosing your colour scheme, consider the mood you want to create. Light colours can make your space look bigger and brighter, while dark colours can create a more intimate and cosier setting. You should also consider the colour of your furniture and fixtures.
#lifehack: Need the inspiration to help you decide on your home’s colour scheme? Check out our “Home Design Apps to Help Achieve Your Dream” to find apps that can easily help you swatch paint colours!
Painting Materials & Tools
Invest in good-quality paint brushes and rollers to ensure that your walls and ceilings get an even and smooth finish. Here is a list of essentials to kickstart your home painting journey:
- Paint
- Paint Roller
- Paint Roller Refill
- Paint Roller Extension Pole
- Plastic Drop Sheets
- Paintbrushes
- Paint Tray
- Painter’s Tape or Masking Tape
- Rags
- Latex Gloves
- Step Ladder

Prep Your Rooms
Prep your home before painting to achieve a hassle-free painting experience.
- Patch any cracks or holes in the walls or ceiling with a suitable filler and sand them smoothly.
- Clean to remove any dirt, dust, or grease using a mild detergent and a damp cloth. This ensures that your paint has a smooth finish.
- Clear the space, remove any furniture and decor from the room, or move them to the centre. Always remember to cover your floor and furniture with plastic drop sheets to protect them from paint splatters or spills.
- Mask off areas you don’t want to paint (such as door/ window frames, light switches) using painter’s tape or masking tape.
Primer is Prime!
Priming helps to ensure that the final coat of paint adheres properly and that the end colour appears consistent and vibrant. Additionally, primer can help to seal any tiny cracks or holes in the wall.
If time is short, there are several all-in-one primer paints available in the market, but these can be a little more expensive. Depending on your time and budget, you may choose an all-in-one primer paint or purchase a primer and paint separately!
Use a paint roller to apply a thin, even coat of primer, starting at the top of the wall and working your way down. Be sure to use long, even strokes to create a smooth and consistent finish.
How Much Paint Do I Really Need?
It’s a challenge to figure out how much paint you’ll need. Here are some estimates based on flat size, for 2 coats of paint of the same colour and paint type. You might need more paint if you are considering a feature wall with multiple colours or if your walls are not smooth and are slightly textured.
| Type of Room | 2-room/ 3-room | 4-room | 5-room |
| Individual Bedroom (Walls) | 5 litres | 5 litres | 5 litres |
| Living Room (Walls) | 5 litres | 10 litres | 10 lites |
| All Ceilings (including Kitchen and Bathroom Ceilings) | 15 litres | 15 litres | 20 litres |
Emulsion paints (also known as water-based paints) are commonly used in homes. Emulsion paints are easier to apply, have a shorter drying time, don’t give off any unpleasant smells and can be easily cleaned with soap and water. There are also a variety of emulsion paint finishes such as flat/matte, eggshell, satin, semi-gloss, and gloss emulsion paints.
Ready, Set, Paint!
Once your primer is dry, you can start to apply the first coat of paint. Repeat this process for the second coat to ensure that the colour is consistent and that the paint covers the walls completely.
Painting your home can be time-consuming. On average, paints usually dry between 2 – 4 hours so you should plan your painting schedule ahead by organising and working systematically.
We recommend painting the bedrooms first before moving on to the living room. This helps you organise and keep track of which rooms are painted first so that the paints have enough time to dry before you apply the second coat of paint.
#lifehack: Save yourself the trouble of cleaning up by always painting the ceilings first as you may spill or splash some paint onto the walls or other surfaces!

Once you’re finished painting, clean up your work area by removing the drop plastic sheet, and all the painter’s/masking tape. You can also reuse your rollers and brushes by soaking them in warm soapy water and leaving them to dry after.
That’s it! With a little patience, time, and effort, you can give your home a fresh, new look.


